
Advertisement

Travel photographer Laura Watilo Blake knows a thing or to about good digital hygiene, and keeping track of all the shots she takes on each trip. She shared her top tips for wrangling your own collection of travel photos before your next adventure.
As a professional travel photographer, itโs been a necessity to keep my image archives in order so when a client calls looking for a photo of Argentine grilling or a panoramic shot of Colombiaโs famed wax palms in the Cocora Valley, I can quickly and easily access the photos no matter where I am in the world.

Advertisement
There have been a few hiccups over the course of my career, including a few corrupt SD cards and failed hard drives, but over time, Iโve developed strategies for naming my files, adding pertinent information about the destination and backing up the images on multiple hard drives and a cloud-based storage service.
Donโt just take my word for it. I have sought out the helpful advice of Lisa Griffis, a personal photo organizer and certified member of the . After spending 35 years in photojournalism and design for the newspaper industry, Griffis launched to help people preserve their own visual legacies. She curates and organizes both print and digital photos for clients. These are our tips for wrangling your travel memories.

1. Back up the chaos.
Before tinkering with files on a computer, save everything to an external hard drive โin case anything gets deleted by accident,โ Griffis says.
What size hard drive you need depends on how much data you need to back up. Consider the amount of data already on your computer's internal drive, as well as any data backed up to the cloud. If you have photos on your smartphone worth backing up, add that data to your calculations as well.
External hard drives range from $70 for two-terabyte portable hard drive to hundreds of dollars for expandable RAID systems. The acronym โRAIDโ stands for "redundant array of independent disks," in which a bunch of hard drives act like one big superdrive. Not only can a RAID system expand as your photo collection grows, but it also can be configured for automatic dual back-ups to keep data safer should one drive fail.
If you need suggestions for various types of RAID systems, . I have a five-bay at home with more than 24 terabytes, plus several portable drives that go with me on my travels.
Once youโve decided on the hard drive that fits your needs, you can automate backups using your computerโs operating system, with software that comes with the drive or a third-party app or service.
Advertisement
2. Start sorting and organizing your digital images into folders.
With everything backed up, you can start collecting images from the smartphone and online locations and place them in a โholding tank,โ says Griffis. โYour โto-be-organizedโ folder is the dumping ground for all the images you bring from devices, camera cards, the scanner, etc.โ
As you bring each set of digital images into this folder, try to keep events or months together instead of dumping a gazillion images from your camera roll. Use your smartphoneโs built-in app to identify groupings like months, events or collections.
Once you have a group of photos in the folder, review the images quickly and get rid of anything that isnโt a keeper. Next, create or rename a folder and give it a name that represents the group of photos that will go into it.
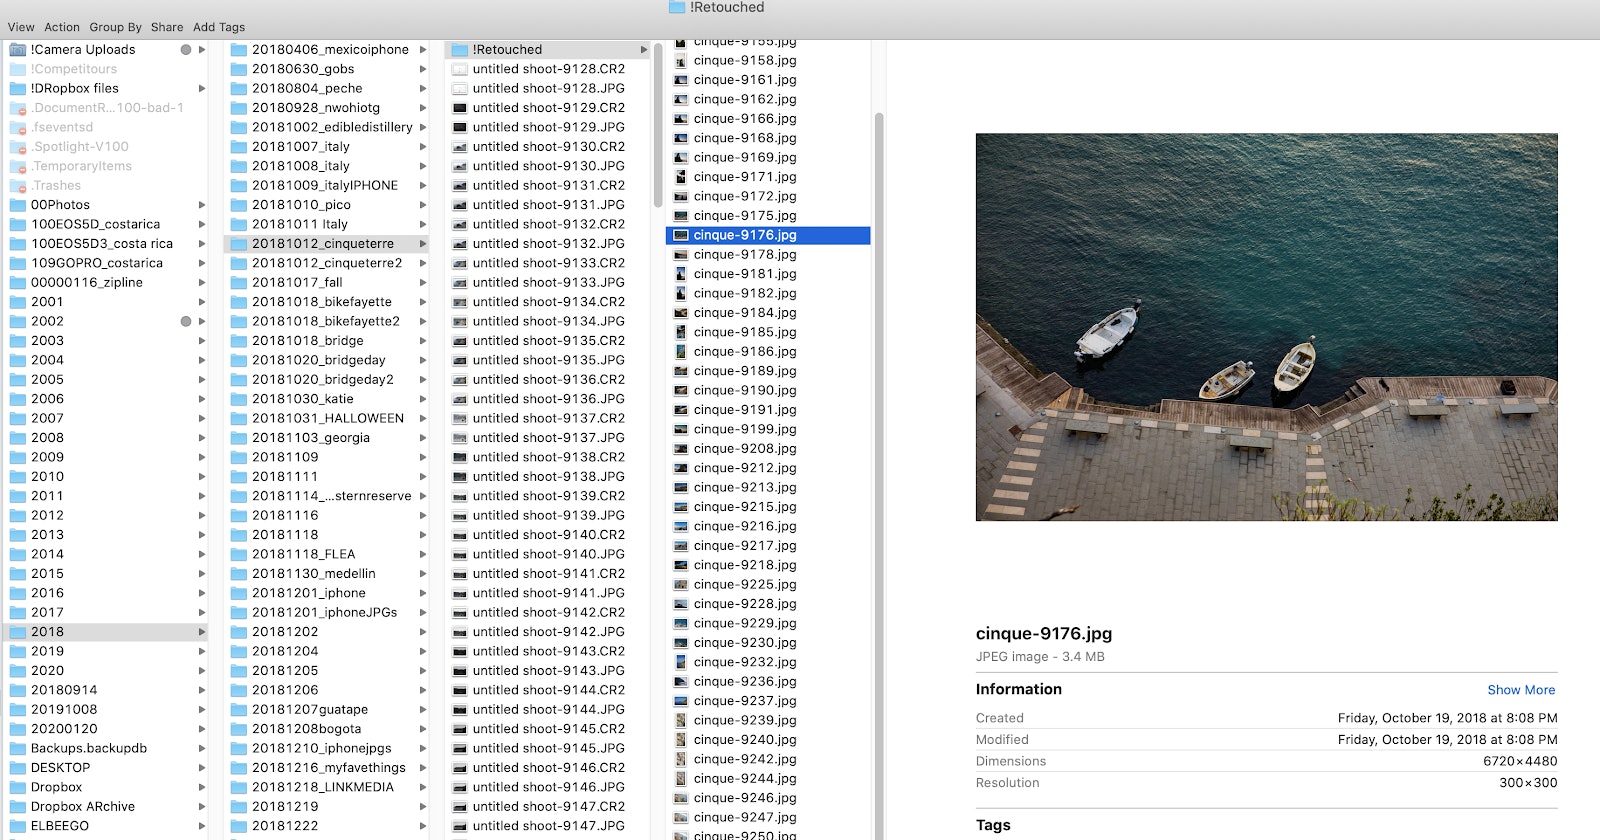
I have my folders organized and named by year, followed by folders listed sequentially by year, month, day and the place, event or theme. For example, inside my 2018 folder, youโll see โ20181012_cinqueterre.โ The numeric sequence represents October 12, 2018, while the text after the underscore indicates the photos were taken in Cinque Terre, Italy. Subsequent folders show the raw files straight from the camera and the final images that are ready for archiving, uploading and printing.
โStarting with the date makes sense because the computer does the filing for you,โ Griffis says, โbut you can sort things in a way that suits them, whether itโs chronological or by name, person or event. I tell them to start by closing their eyes and imagining how they would have files organized in an actual file drawer.โ

3. Rename digital photos to add context.
Just as you organize everything into folders, itโs important to add detailed information about the individual photos in the actual file names. After all, the story behind the image is just as important as the picture itself. Youโll want to include who, what and where,โ says Griffis.
In the example above, Iโve organized my images starting with the place where it was taken and whatโs happening in the photo (ex. ohio-hocking-hills-hike-conkles-hollow-0324.jpg). At the end, I always include the original number assigned to the image straight out of the camera in case I need to go back and find the original raw file for further editing.
If it seems daunting to rename all of your files one by one, then download , a free media management program that helps manage and organize images and other files. The batch rename features allows you to quickly rename multiple files in one fell swoop.
The robust program does a lot more as well, including editing, sorting, adding metatags and publishing photos. You can also apply a star rating to the images you love the most, which will help when it comes time to find your favorite images that you want to share and display.
If youโre doing your file naming manually, be sure to save a copy of your best images in a separate folder labeled โFavorites.โ

4. Develop a photo archiving strategy using the 3-2-1 backup rule
Now that you have your files in order, itโs important to not only maintain the file-naming practices going forward, but also establish a frequent back-up schedule using the 3-2-1 method.
The โ3โ stands for three copies of your files saved in three distinct places. The โ2โ means that two copies of your data should be in two separate places, such as your computer and a hard drive, or on two hard drives if your archive is too large to fit on your computer. The โ1โ indicates one set of data should exist at a separate location in case of some unforeseen natural disaster, fire, flood or theft.
โMost people donโt have anything backed up,โ says Griffis. โBut itโs important to get systems in place, especially in uncertain times. I donโt care if itโs in the cloud, on an extra hard drive in a lockbox at the bank, or at your momโs house 100 miles away.โ
Griffis uses a cloud-based back-up service called to securely back up the contents on her computer and all attached hard drives once a day. When it comes to archiving photos, , , , and are the most popular. Each has its advantages and disadvantages, so do your research first.
โIf you use the cloud to back up materials,โ Griffis says, โmake sure that the website doesn't compress images. Many do and it will affect the file size of the image.โ
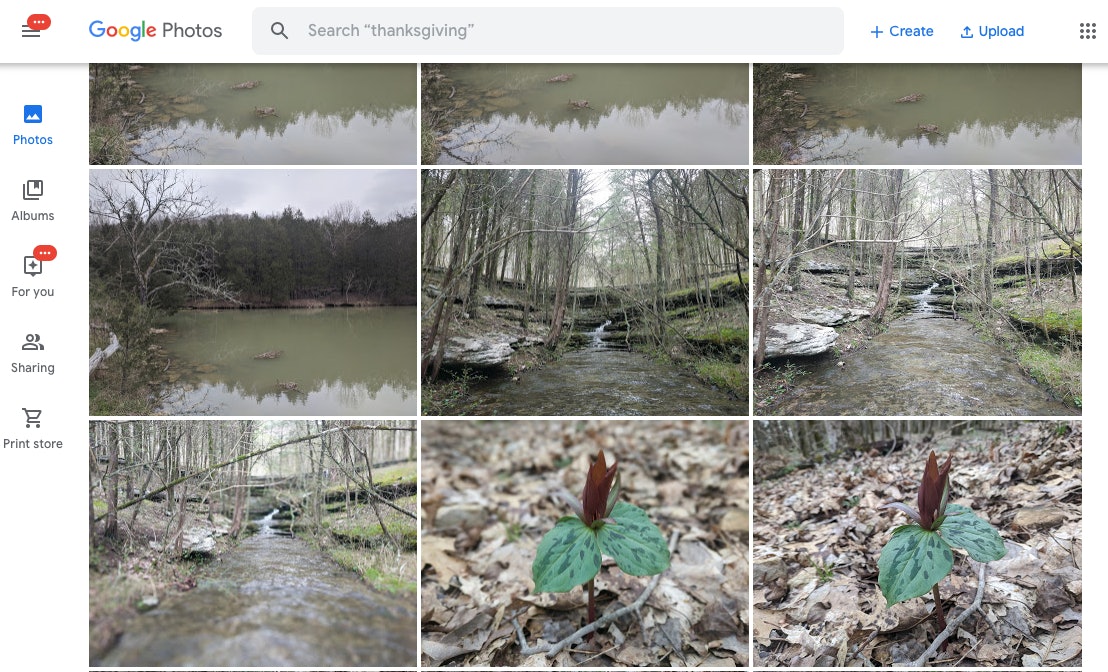
Of the services listed above, Google Photos will back up unlimited photos and videos for free up to 16 megapixels and 1080p video resolution, but it downsizes files that are higher quality. It does have a setting that preserves the original quality of the photos and videos, but there is an additional fee for storing the files.
You may also like: Five creative ways to display your travel photos at home
Advertisement